
Photoshop Practice
- Mar 29, 2017
- 4 min read
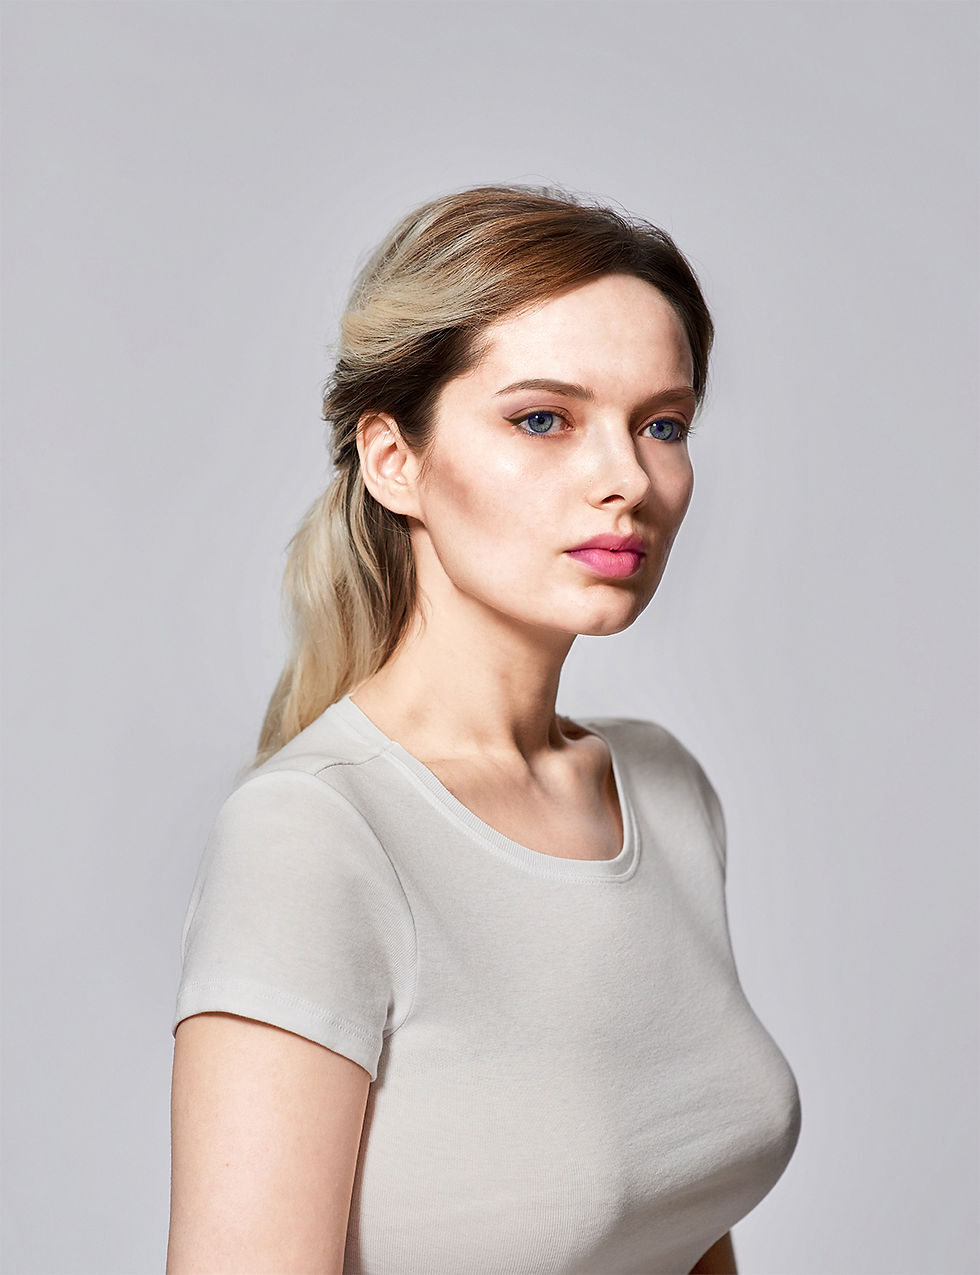
For my final major project I want to have the start of the video be the end of a photoshoot and it work backwards. I've used photoshop before and I taught myself how to photoshop faces and other stuff when I was in AS Level. However over the summer I forgot most of what I learnt so I needed to reteach myself the different techniques and tools that the media uses to edit someones face.

steps
1.blemishes
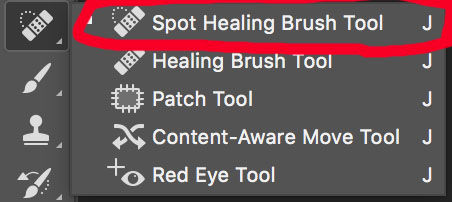
To remove the majority of the spots and blemishes I used the Spot healing brush and the Patch tool. I already knew how to do this so I didn't need to do any research into it.
To use the Spot Healing Brush you select a small brush size and click or draw over any perfections.
To use the Patch Tool you simply draw around the area you want to change i.e. dark under eyes, and drag the selected area to a more even part of the face. Photoshop will then overlay that area onto the problem area giving it a more even effect.

2. Lighten skin
This was one of the things that I had taught myself and forgotten so I found this website which explains how to do it:
http://www.designpanoply.com/blog/how-to-change-a-persons-skin-color-from-dark-to-light-in-photoshop
3.Contour and highlight
I haven't done this technique before so I was starting from scratch learning this. This was the video I found that explains how to do it:
I also wanted a slighter darker contour so I used the brush tool, selected a mid/dark brown and set it to a low opacity and flow and decreased the hardness to 0% and just painted over the areas I wanted to darken.


4.Makeup
This was another technique that I had never used before but I played around with different ways of adding eyeshadow, eyeliner, lipstick and filling in her brows, the easiest way for me was to use the same technique as adding extra contour. I took the brush tool with the same settings as before and just chose the colours that I wanted. I used a light brown on her eyelid with a darker brown near the crease and a brown/pink colour just above the crease. I wanted to do a simple look as I hadn't done it before and I wanted to start with something easy. To create the eyeliner I took a dark brown/black and just made the shape of eyeliner, I also added a little bit of a lighter brown just under her eye to create a bit of a shadow. For her lips I added a light pink to her lips with a darker pink towards the corner of her mouth to add realistic shadows.
For her eyebrows I used a mix of the Brush tool and the Burn tool. The burn tool basically adds a slight shadow or dark tone to whatever you use it on.

I then used the Eyedropper tool and clicked on a colour from her eyebrow. The Eyedropper tool then selects the colour from the colour selection in the top right of photoshop. This means that you can use the colour in any colour tools, including the Brush tool.
5.Touchup
Once I had finished the makeup I went back in with the Spot healing brush and the Patch tool just to clear up some areas I missed before.
6. Liquify
This is one of my favourite things on photoshop because there is so much possibility with the tools provided. You can make things bigger, smaller, move them and twist them. Within this you can make something look as natural or as unnatural as you want. As you can see from the before and after pictures below I made her hair bigger (and added colour afterwards using a Colour balance adjustment), arched her eyebrow, made her pupils, eyes and lips slightly bigger, made her neck longer, thinned her face and arms and increased her bust size.

I made her hair a more vibrant colour by using this video: https://www.youtube.com/watch?v=xZQ5aObPFb4
7.Tan
I wanted her skin to look a little more tanned and colourful so I added a Hue and Saturation adjustment layer and made her skin more reddy/brown. I then just erased the parts of the layer that wasn't on her skin.
8.eyelashes
I thought she was missing something so I found a picture of some really nice eyelashes. I used these as it doesn't have a background so you can use them on any skin tone without having to remove any colour from behind them.

I put them on a new layer and placed them over the eye and adjusted the size and then pulled them around a bit until they fit her eyes perfectly by pressing cmd+t and using this tool at the top. To use this all you need to do is drag the points of the box where the lines cross.

And that's it!
Since I made this edit I've also created this picture which I made her features a little more extreme by using the same techniques and method.


Comments